Warehouse Closed On July 4th
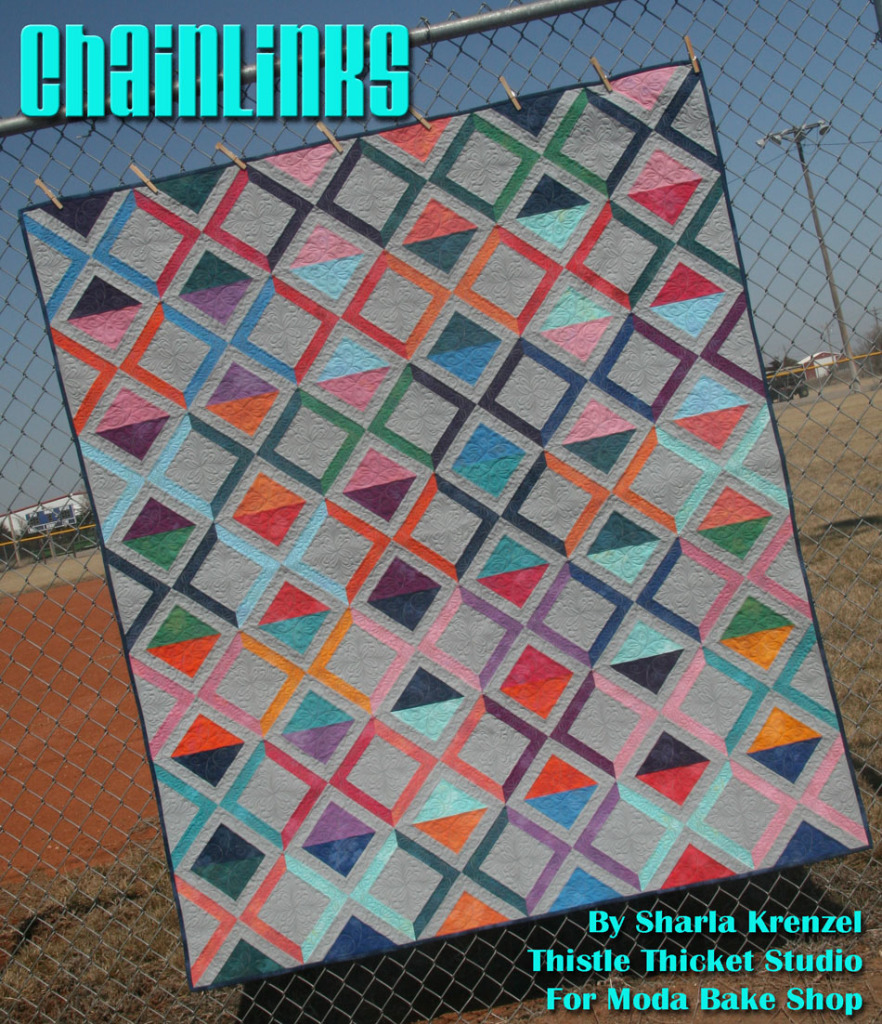
Chainlinks Quilt
Chainlinks Quilt
Hello fellow Moda junkies! My name is Sharla Krenzel. I'm just a country girl at heart. I love quilting, crafting, junking, decorating, baking, flowers (but not the gardening that goes with it), traveling, dreaming, creating....you can keep up with me and my hobbies (i.e. obsessions) on my blog (www.thistlethicketstudio.com), Facebook and Instagram (Thistle Thicket Studio), and Twitter (@StudioThicket).
I'm delighted to share with you my first Moda Bake Shop recipe - Chainlinks. I love trying to figure out new ways to create blocks by sewing, then cutting and resewing fabrics together. This pattern features a block that I created playing around with layer cakes. I hope you enjoy it as much as I did!
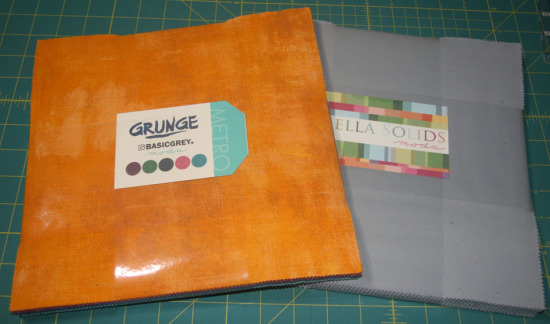
1 Grunge Layer Cake
1 Silver Bella Solids Layer Cake
2/3 yard Grunge fabric for binding
4 yards Grunge fabric for backing
First of all, don't you just love to thumb through the different fabrics in a layer cake? Yes, before I even take the wrapping off!
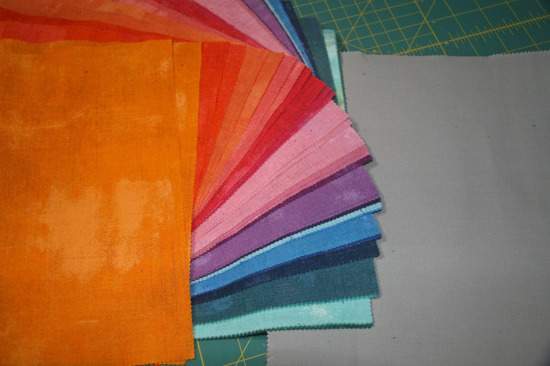
Then, do you love to fan the fabrics out to enjoy all the beautiful colors. Yes? Then, like me, you're a Moda junkie too!
Now it's time to get down to some quilty business. Note: all seams are 1/4" and the blocks in this quilt are made in pairs.
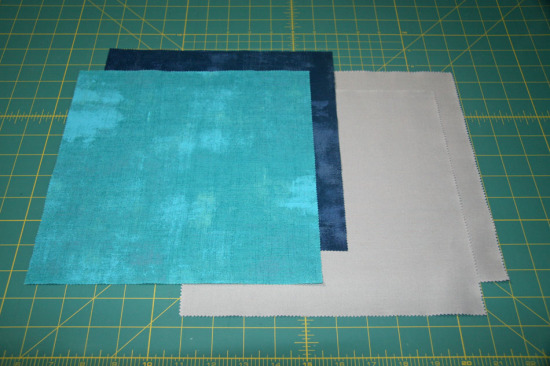
1. Select two contrasting colors of Grunge layer cake squares and two Silver Bella Solid layer cake squares.
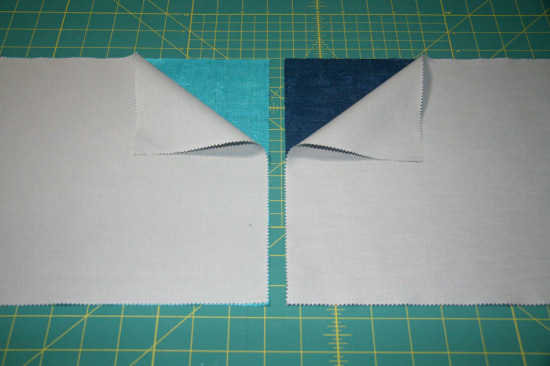
2. Pair a Grunge color square with a silver background square, right sides together.
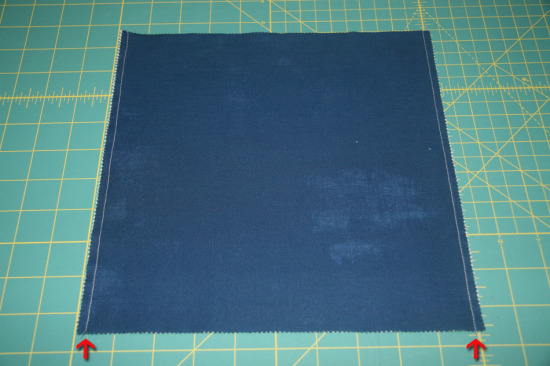
3. Sew down the right and left sides of the block. Repeat for the second block.
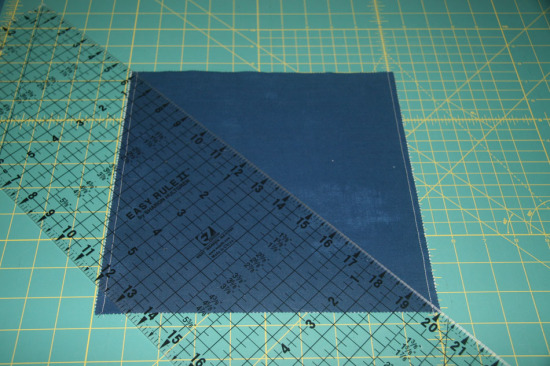
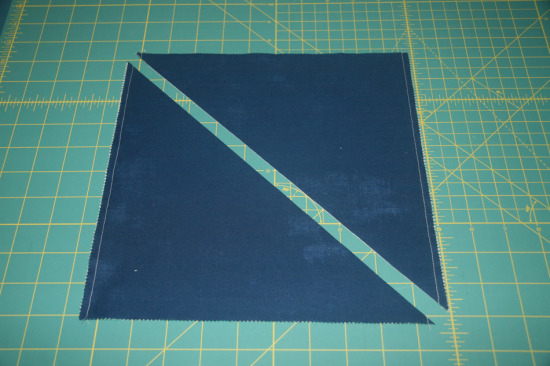
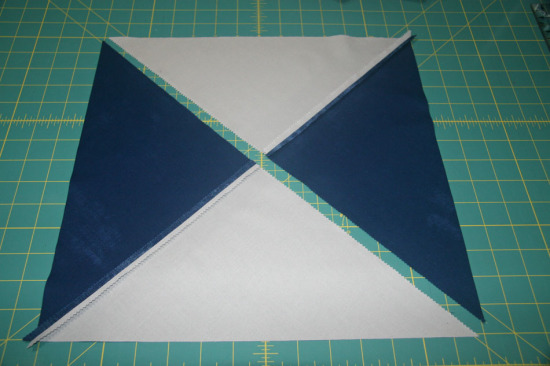
4. Cut the block diagonally from corner to corner once.
5. Press seams open.
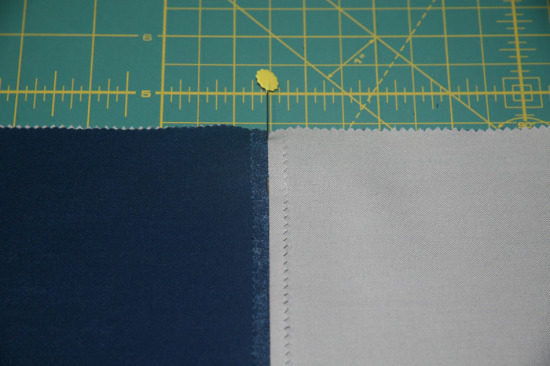
6. Sew the two halves together along the long edge, pinning to match seam in center. Press seam open. Repeat steps 4-6 for the second block.
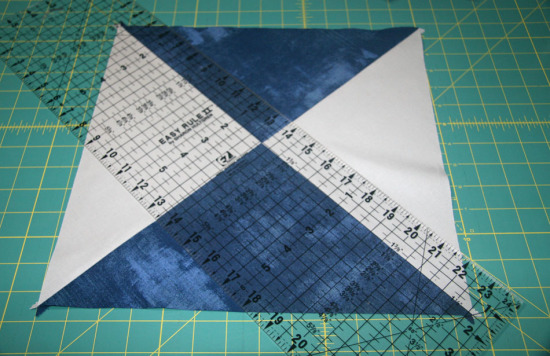
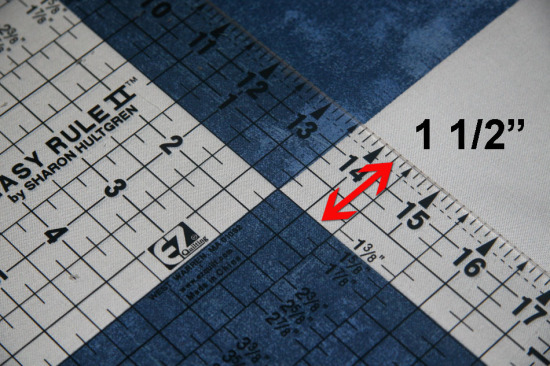
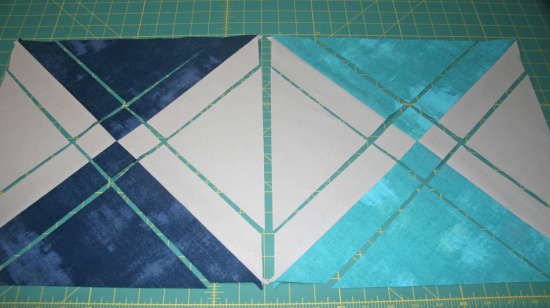
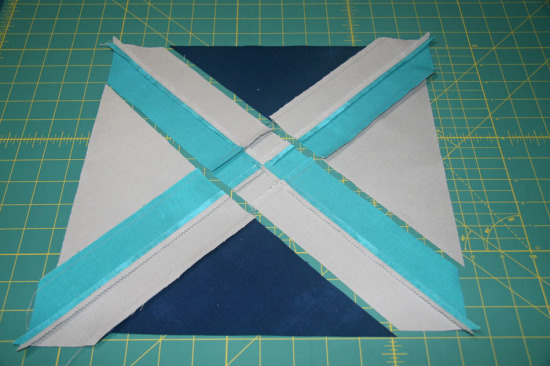
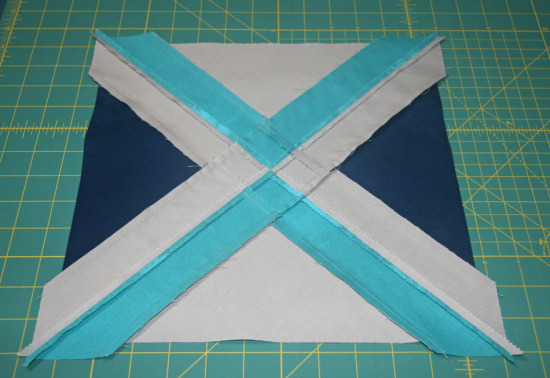
7. Lining the 1 1/2" mark of a 24" long ruler on the center seam, cut with a rotary cutter. Repeat on the opposite side of the seam and on both sides of the perpendicular seam. You will make a total of four cuts. Repeat for the second block.
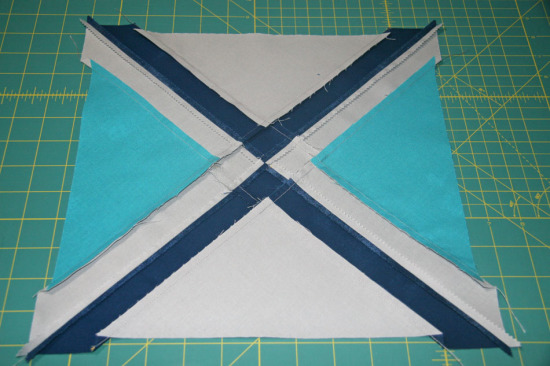
At this point, you should have two blocks that look like this:
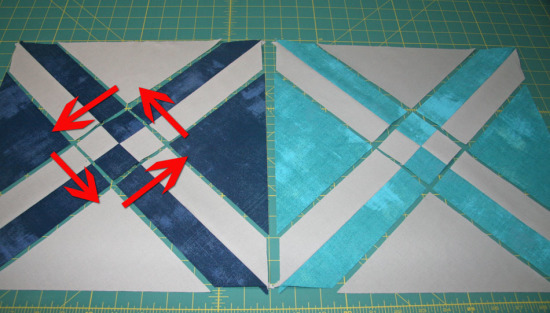
8. Rotate the 'triangles' in each block 1/4 turn.
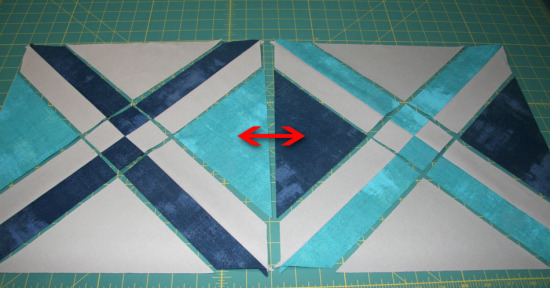
9. Then switch the color triangles in the first block with the color triangles in the second block.
10. Working with one block only, sew the pieces in rows as shown:
11. Press seams toward the triangles on the outer rows. Press seams towards the center four-patch square in the middle row.
12. Sew each triangle section to the middle section, matching seams. Press towards the triangles.
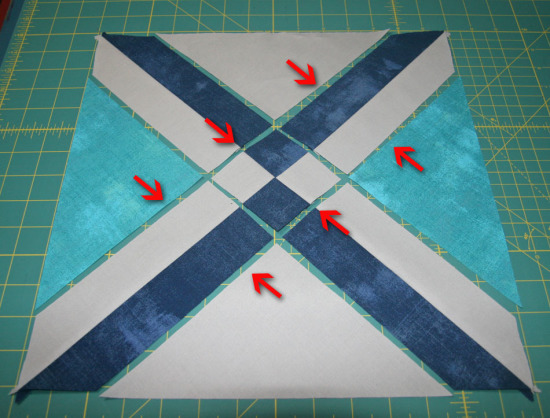
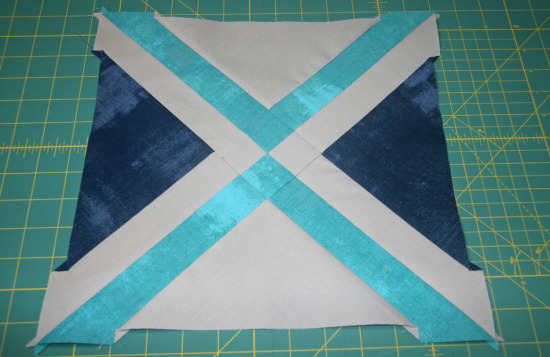
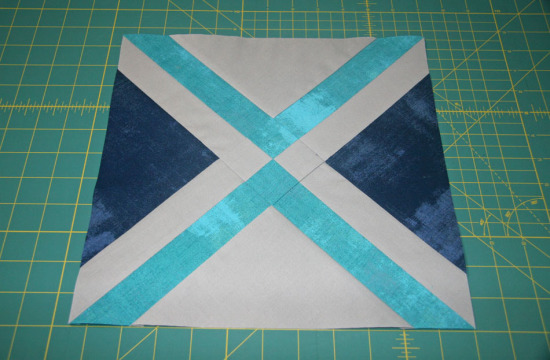
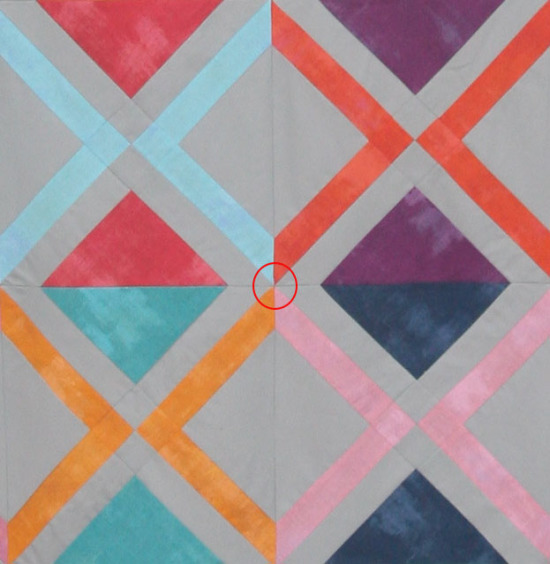
Here is what your block should look like to this point:
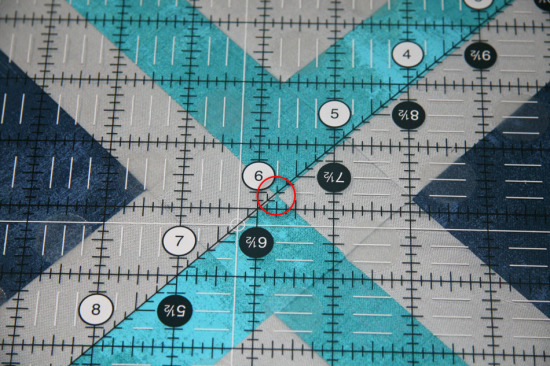
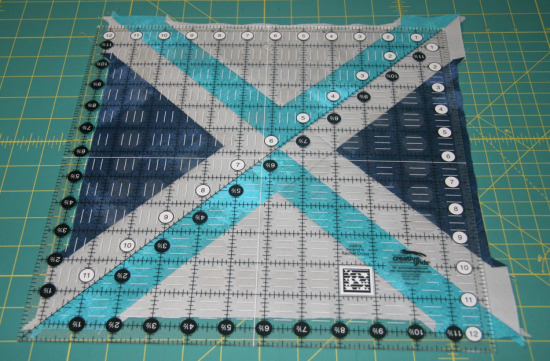
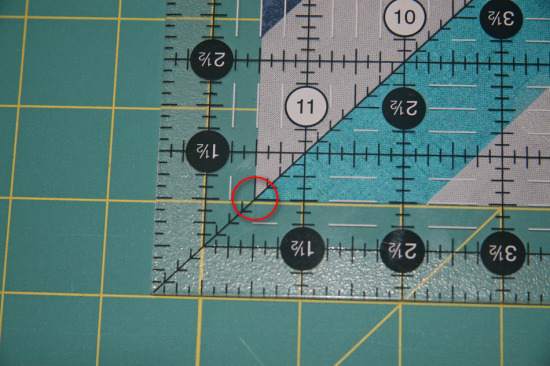
13. Using a 12 1/2" square-up ruler, place the 5 3/4" mark of the 45 degree line on the center of the block.
14. Line up the 45 degree line with the center seam of the block.
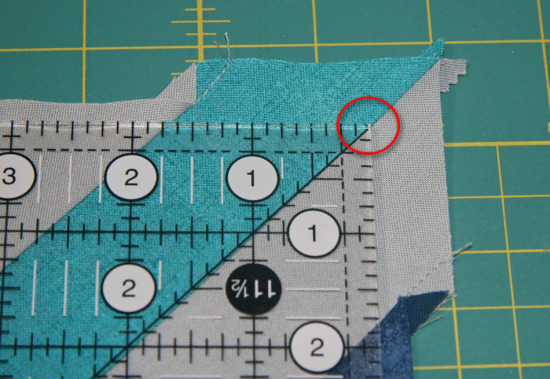
15. Line up the upper right seam of the block with the corner of the ruler.
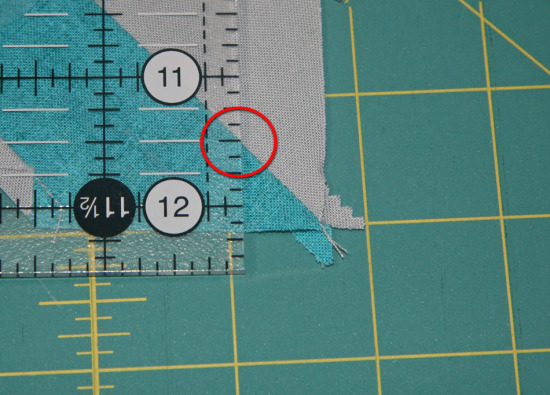
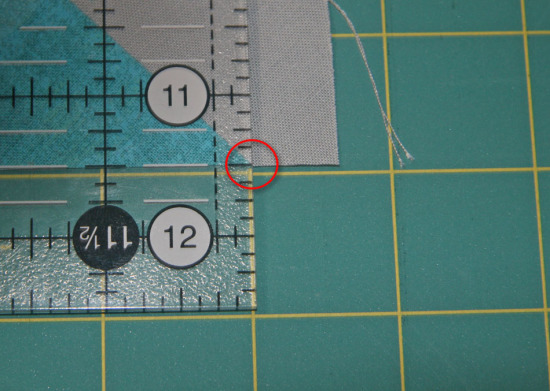
16. Line the upper left seam and lower right seam with the 11 1/2" marking on the ruler. Trim the top and right sides of the block.
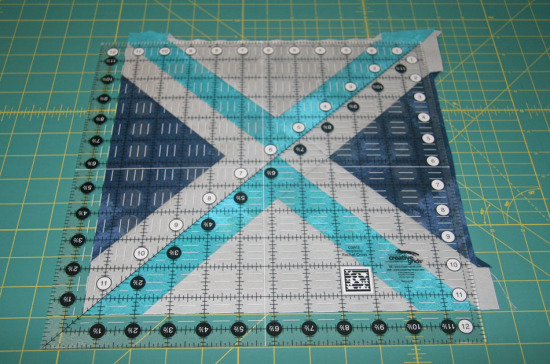
17. Rotate the block 180 degrees. Again, place the 5 3/4" mark of the 45 degree line on the center of the block and line up the 45 degree line with the center seam of the block. Line the left and bottom sides of the block with the 11 1/2" marks on the ruler.
18. Make sure the center seams line up with the 11 1/2" marks on the ruler. Trim the remaining two sides of the block.
19. Place your completed block in Stack A - Seams pressed towards triangles.
20. Repeat steps 10-18 for the second block, except for the following: In step 11, press seams toward the center seam on the outer rows and press seams away from the four-patch in the middle row. In step 12, press seams towards the center.
21. Place block in Stack B - Seams pressed towards center.
22. Repeat for remaining pairs of layer cake squares, for a total of 42 blocks.
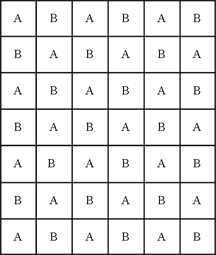
23. Lay out the blocks six across, alternating blocks from Stack A and Stack B, positioning the blocks with the color triangles at the top and bottom. Repeat for a total of seven rows.
24. Working across, sew blocks together in rows. Press seams open. Working down, sew rows together. Seams where the triangles meet should nest together. Pinning the seams that were pressed open will help to keep the points of the diamonds from getting sewn in the seam.
25. Quilt and bind as desired.
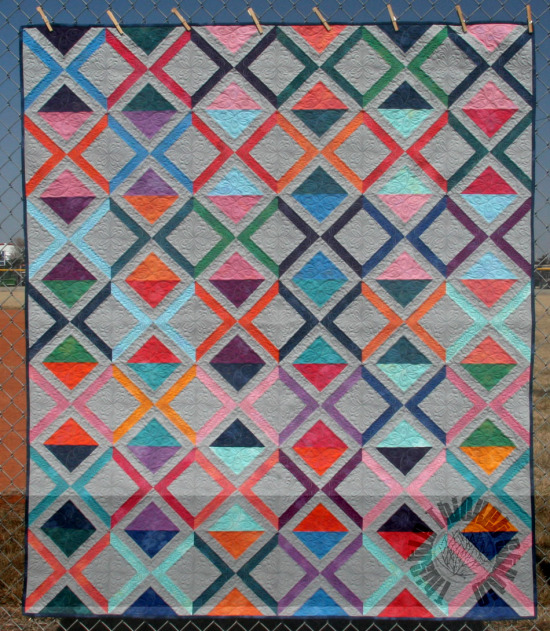
Finished size is 66" x 77". This quilt would be great to wrap up in to keep warm at those early season baseball games that are starting in April.
Sharla Krenzel
{www.thistlethicketstudio.com}

