Welcome to Moda Fabrics!
Mini mania...
Mini mania...

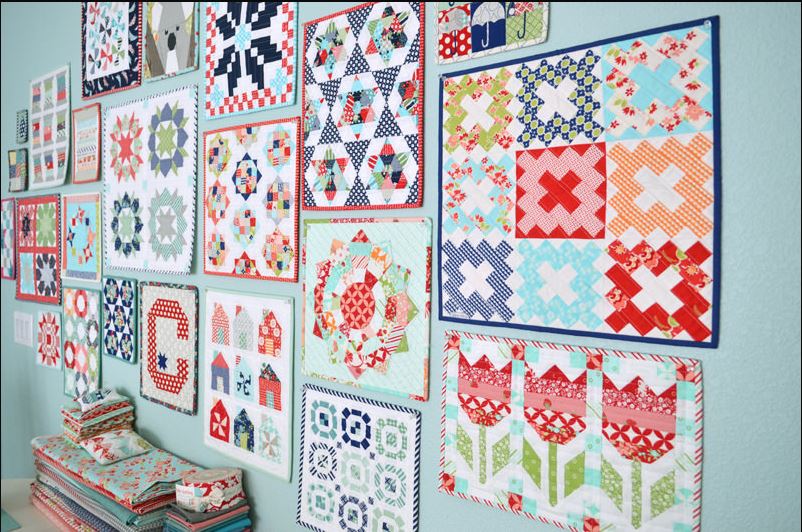
If you've been on Pinterest or Instagram any time in the past few years and done any kind of search for mini quilts, you've probably seen this picture or one just like it.
This is the "wall of minis" that hangs in Camille Roskelley's sewing room. Camille - Bonnie & Camille - Miss Thimbleblossoms.
While Camille will be the first one to tell you that she didn't invent the mini-quilt, I don't think it's a stretch to say that she has had a lot to do with their popularity in the past several years. I'm guessing that's due in no small part to pictures like the one above.
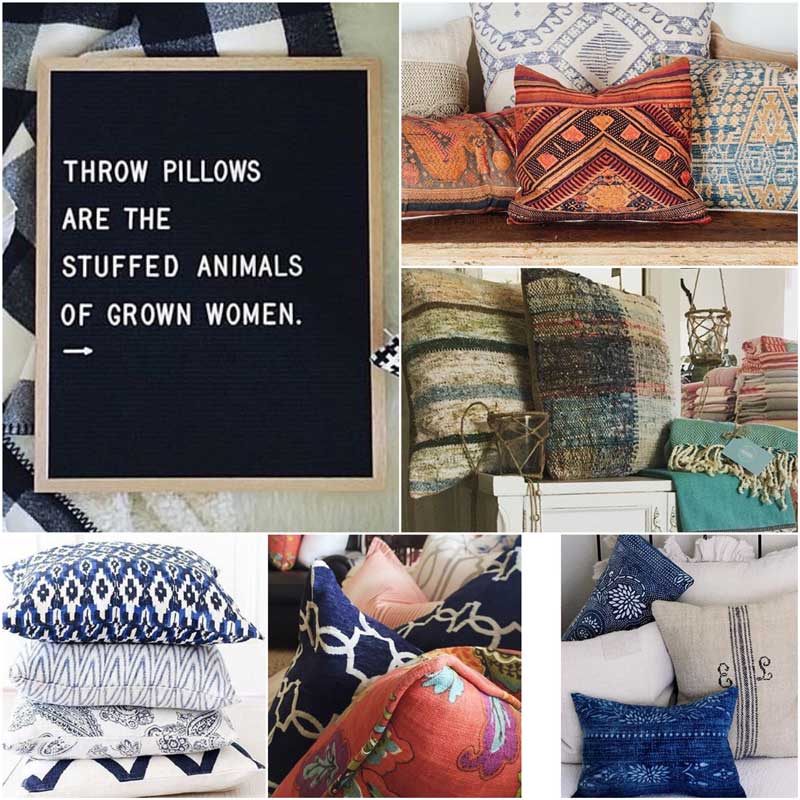
I love mini quilts. But I don't have a lot of wall-space for a "wall of minis". So I prefer to make pillows. I love throw pillows - and I switch out covers fairly regularly. If there's a really pretty piece of fabric that I love but don't know that I'd ever use in a quilt - I make a pillow.
So find a mini quilt you want to make.
I picked this one...

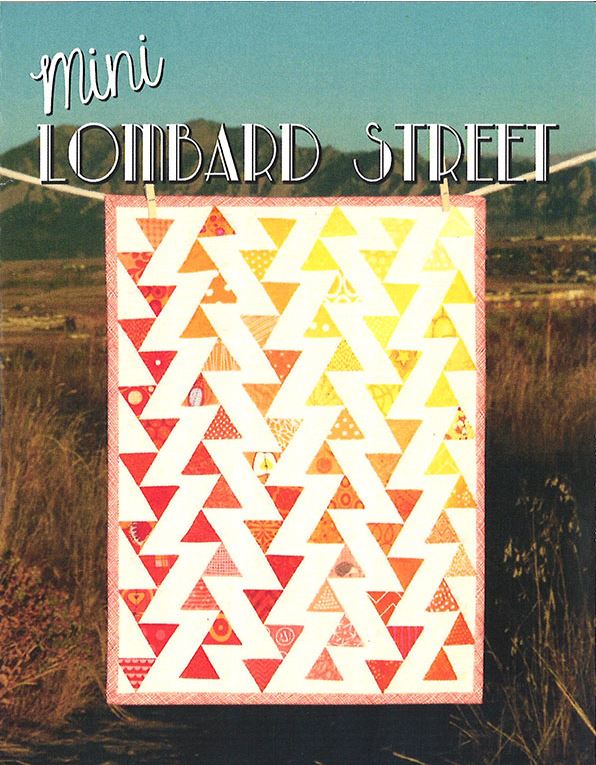
It's the Lombard Street Mini by Sassafras Lane.
The finished mini quilt measures 12" x 16". The rows are 2" wide so adding three rows will make it 16" x 16" - the size of a standard pillow form. Or I could add 2" wide borders to make it 20" x 20" - another standard pillow form size.
Or I could put it sideways and use a 12" x 16" pillow form. That wasn't my first choice either. I am considering "going big" with 24" x 24"... but that will require at least 110 of those little blocks.
Did I mention they're 2" x 2 1/4" finished? Yes, you'll know how it goes... eventually.
All that matters is that adding borders or additional blocks is all it takes to turn any mini pattern into a standard-size pillow. And those are just the starting point - there really are dozens of readily available sizes for pillow forms.
The other thing I'm enjoying about this pattern is this...

It's paper-piecing.
I haven't done this in a really long time and okay, it's been humbling and hilarious to have to re-adjust my thinking about what to do and when.
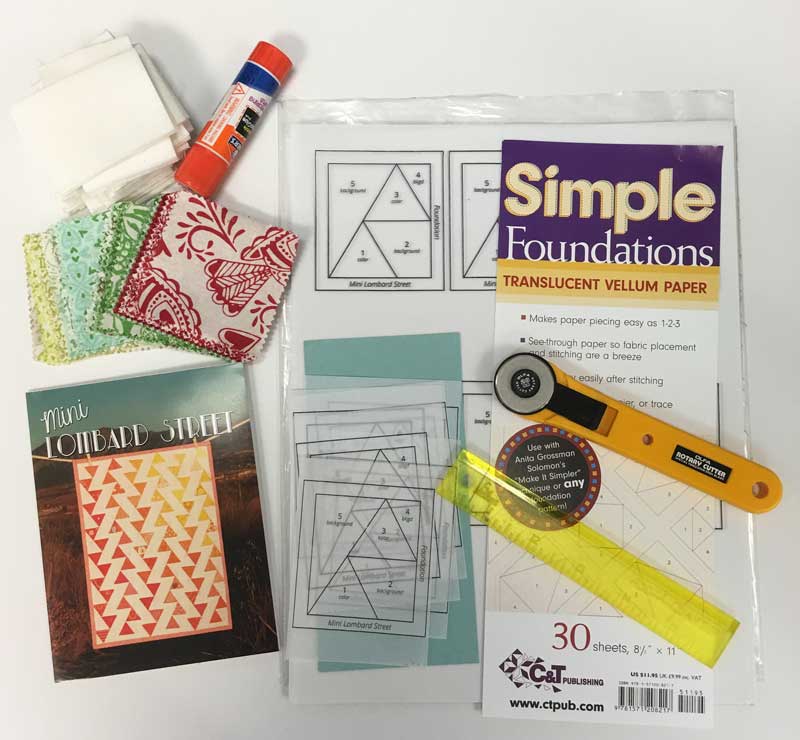
Yes, I do have a few favorite methods and tools:
- Simple Foundations Translucent Vellum Paper by C&T. It's not the only paper on the market but it is my favorite because I can see through it, it tears easily, and it goes through my home printer-copier easily.
- 28mm rotary cutter. Any size will work but when it comes to paper-piecing and this kind of trimming, I seem to do better with the smaller blade. Olfa is not required, it's just the one I've had forever.
- Add-a-Quarter ruler. It comes in several lengths and widths, and at least two colors. I prefer the 6" length and the narrower width - probably because it's what I'm used to. (Old dog and all that.)
- Glue stick. I prefer using a little bit of glue - a little dab will do 'ya - over pinning the fabric in place with the paper.
- Cardstock. I always have cardstock around - often a postcard or some such thing. Template plastic? Not so much.
What I've liked best about this pattern is that mini charm squares are the perfect size for the print pieces - I'm using North Woods by Kate Spain. It's going to be a Christmas pillow.
If you think I'm starting early, you'd be partially correct. I intend - hope - to use this in December of this year. I started it in late February for an "office challenge" to make a Christmas pillow that we could use for various purposes this year. Our first deadline was March 1st. Several people asked for extensions - only MaryAnn finished her pillow on time. Our second deadline was March 15th. Two others made that deadline. There are now seven pillows... with at least one more coming.
Eventually.
(Pictures coming soon.)
If you're interested in paper-piecing, I have a couple of terrific resources to share:
- Sassafras Lane's excellent Sew-ology Sunday Paper Piecing Tutorial
- Nancy Mahoney's Learn to Paper Piece book from Martingale/That Patchwork Place
- Carol Doak's Paper Piecing the Carol Doak Way - seriously, she literally "wrote the book" on paper-piecing so you know it's going to be good.
That's it for today - I need to go make a few more little blocks if I'm going to finish by Christmas.
But I'll leave you with this...

(And I really didn't start making my pillow until the night before the second deadline... but shhhh.)

Comments