Welcome to Moda Fabrics!
Garden Windows Quilt
Garden Windows Quilt
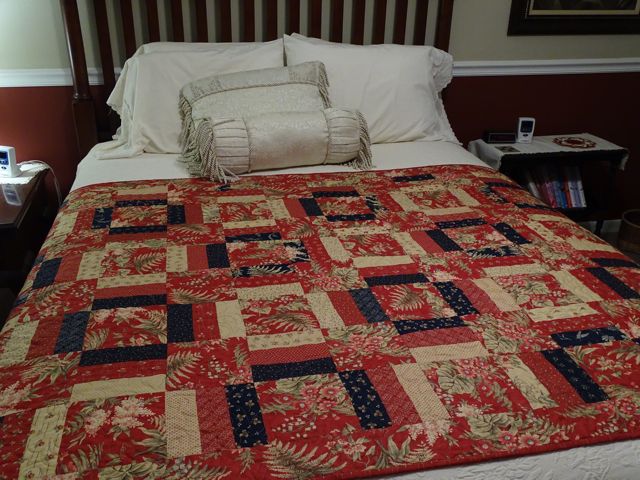
Although it may look complex, this design is really easy. The alternating light and dark windows create movement and invite a look inside. The garden print squares seem to advance and recede as your eye moves around the quilt. Placement of the lights and darks create the windows, so construction is key. I have broken it down into a unit, then you create multiples of that unit to make it easy. The Fern Hill fabric line creates a lovely, low volume, low contrast quilt. Visit my blog at FromMyCarolinaHome.com for more quilts with this window design.
This quilt finishes at 53" x 77".
1 Jelly Roll, {Fern Hill by Jan Patek Quilts}
2-1/2 yards large print for top, border and binding {Fern Hill by Jan Patek Quilts}
5 yards small print fabric for backing {Fern Hill by Jan Patek Quilts}
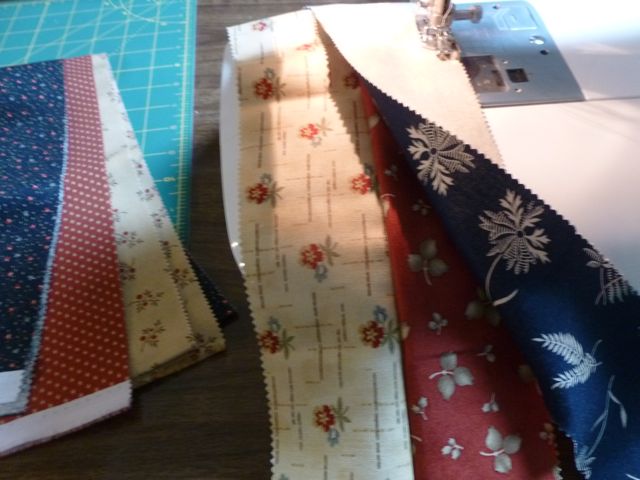
From the jelly roll, pull 8 strips each of navy, red and ecru.
Sew the strips together in sets of three with the red in the middle so you have light-medium-dark orientation.
Cross cut the strips into 6-1/2 inch squares.
Mix up the squares to distribute the patterns evenly across the quilt.
Cut 48 6-1/2-inch squares of the garden print.
Arrange the strip blocks, alternating with the solid squares. Row one is arranged with the strip squares oriented horizontally, alternating the ecru on top with navy on top. A garden print square is first on the left side of the unit.
The second row has the strip blocks oriented vertical, alternating the navy to the right side (of the sewn strip square), then to the left side (of the sewn strip square) on either side of the garden print square. This set has the strip block first.
The third row is horizontal again, with the ecru on bottom, and a garden print square first.
The fourth row strip squares are oriented with the strip squares vertical again, beginning with a strip square on the left, orienting the navy to the left and right. Be careful to place the colors correctly to form the windows. Note this time the ecru is on either side of the garden print square in the second spot.
Four rows of four blocks make a unit.
Make six identical units.
Assemble the units, orienting all of them exactly the same way so that the tesselating windows form between the units.
Add border of 3-1/2-inch strips in the garden print.
Quilt as desired, using the small print fabric as the backing.
Bind as usual with the small print backing fabric. Then enjoy your new quilt!
This quilt finishes at 53" x 77".
The low volume prints in this version create a serene feel. You can try it with higher contrast fabrics for even more punch. See more tutorials on quilting basics, projects, sewing and crafting on my blog, From My Carolina Home. Thank you.
Carole Carter
{frommycarolinahome.com}


